|
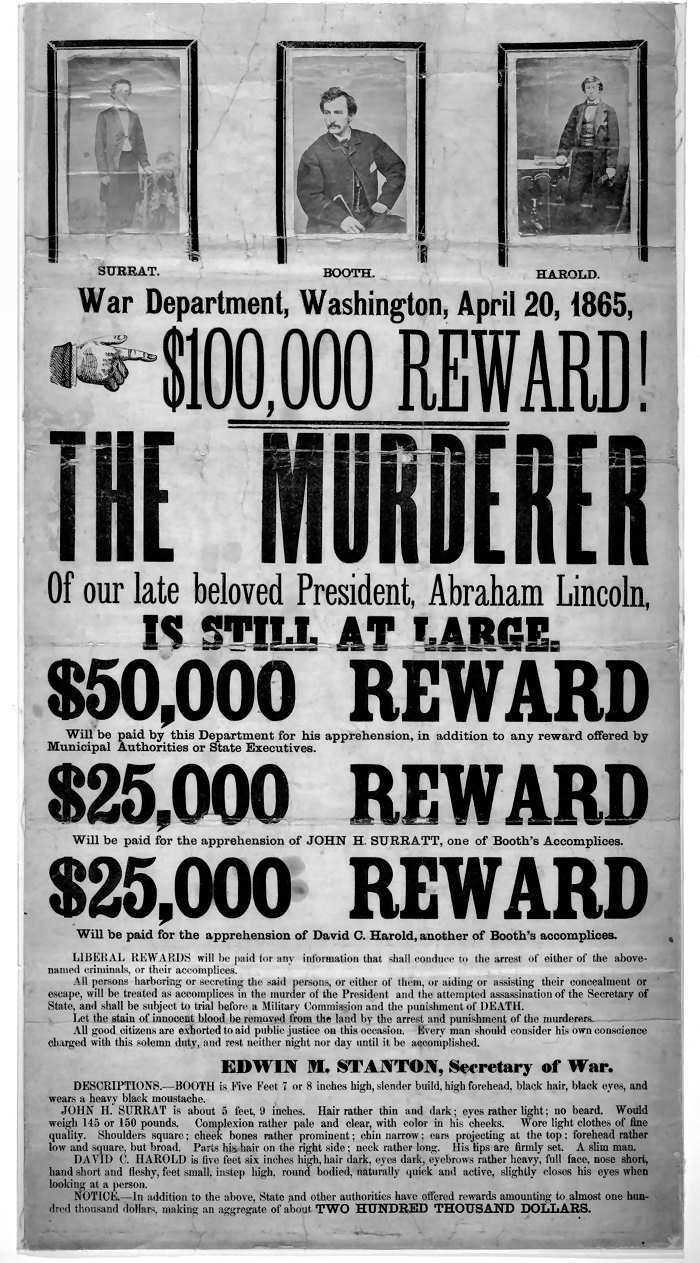
More Images of the "Conspirators"
The original print edition of Volume 7 had a
photograph of only one of the conspirators. This on-line edition includes
as many photos as I could find from on-line public domain sources, mainly
Library of Congress and the National Archives. The
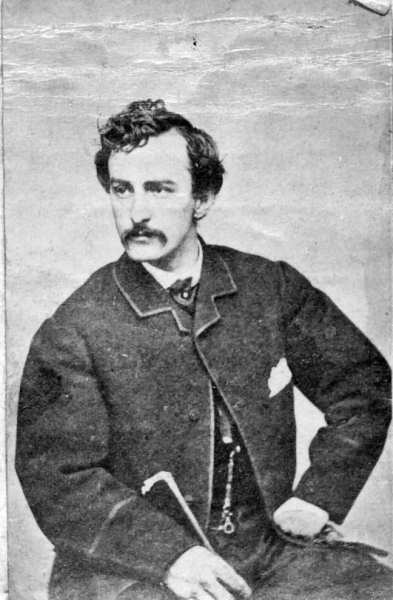
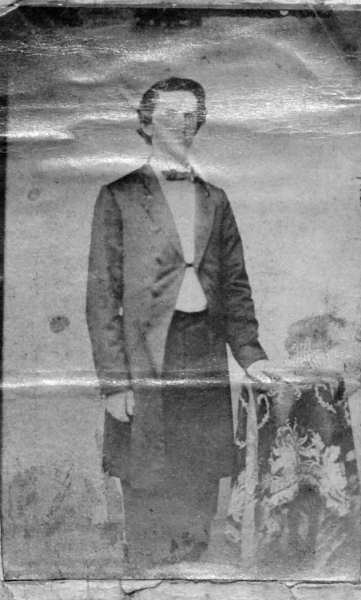
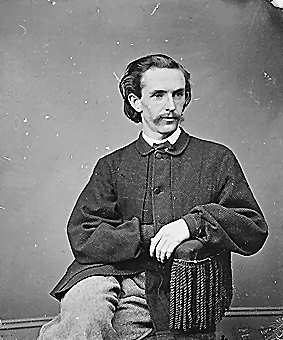
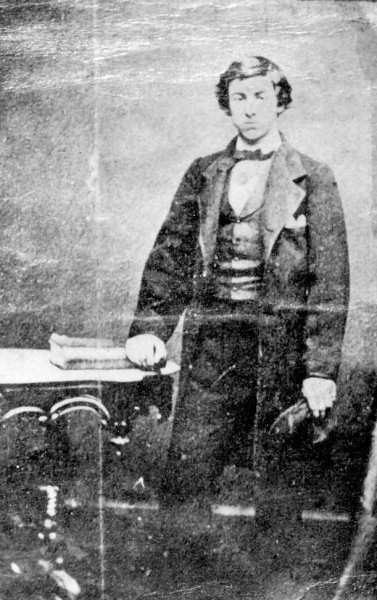
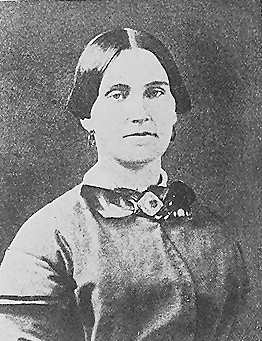
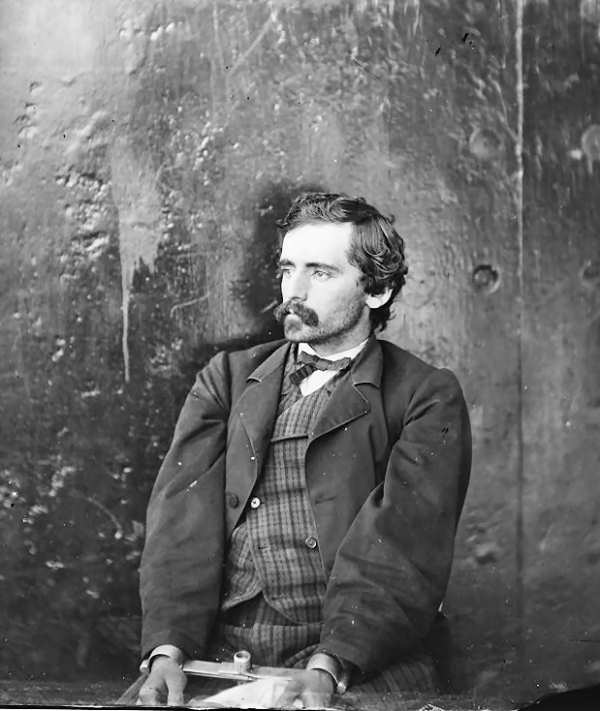
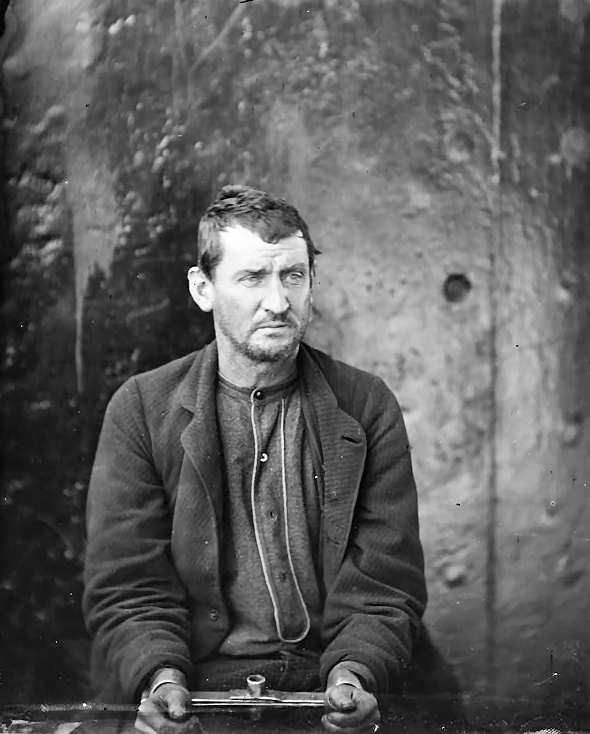
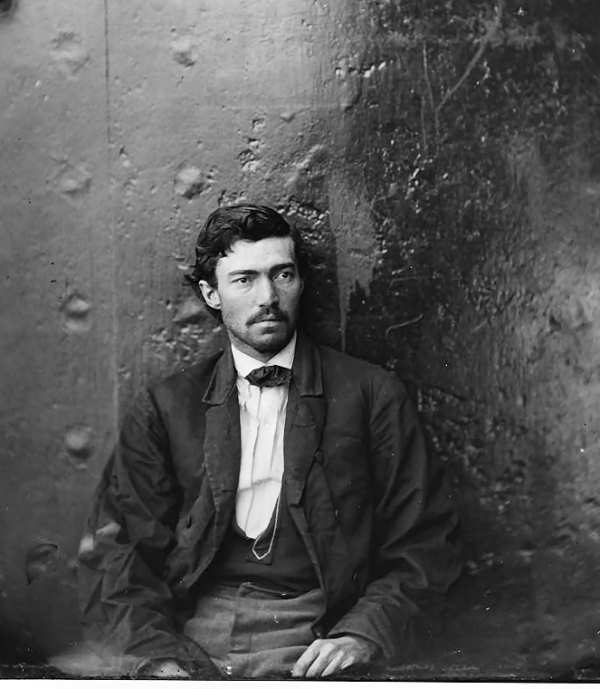
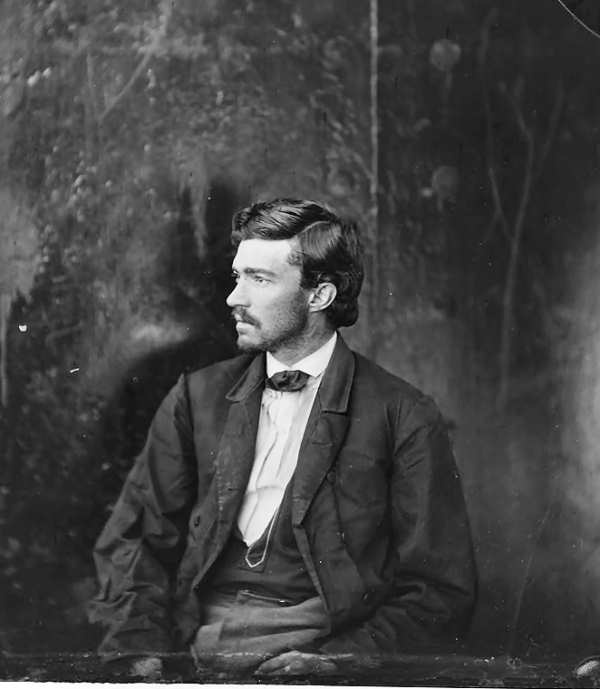
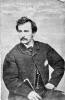
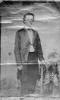
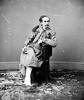
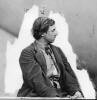
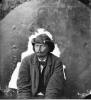
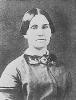
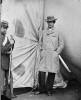
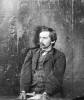
photos of John Wilkes Booth, John Surratt and Mary Surratt are portraits taken
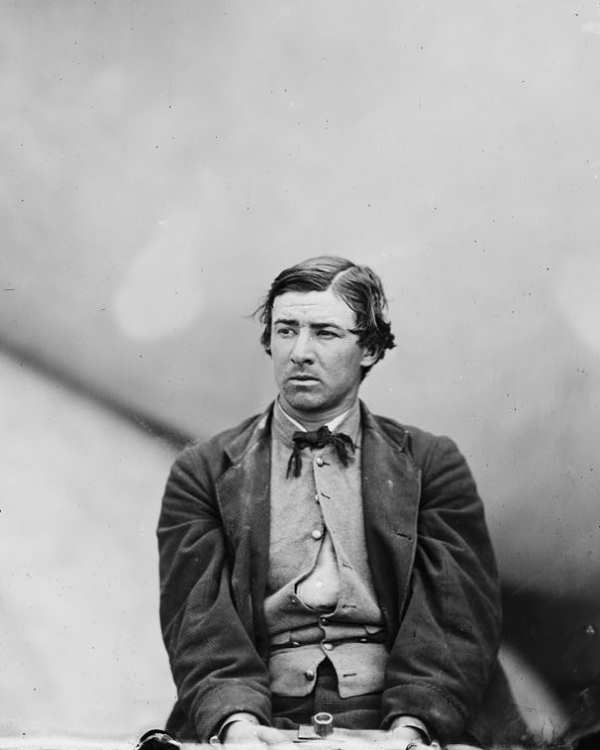
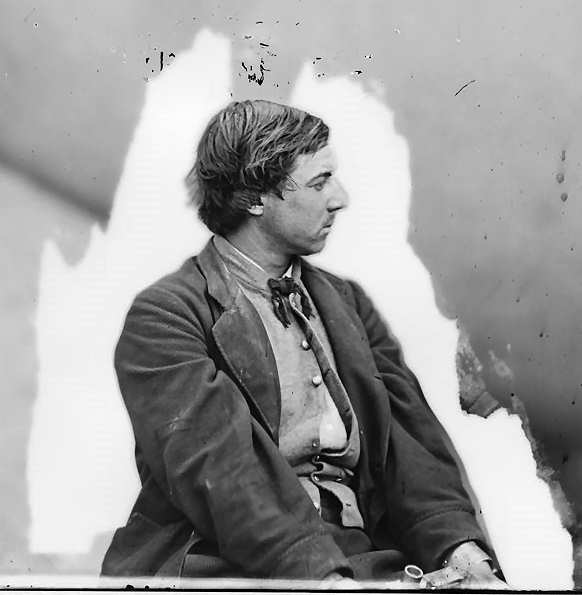
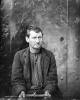
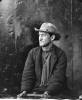
prior to the assassination. The rest of the images of individuals, with the
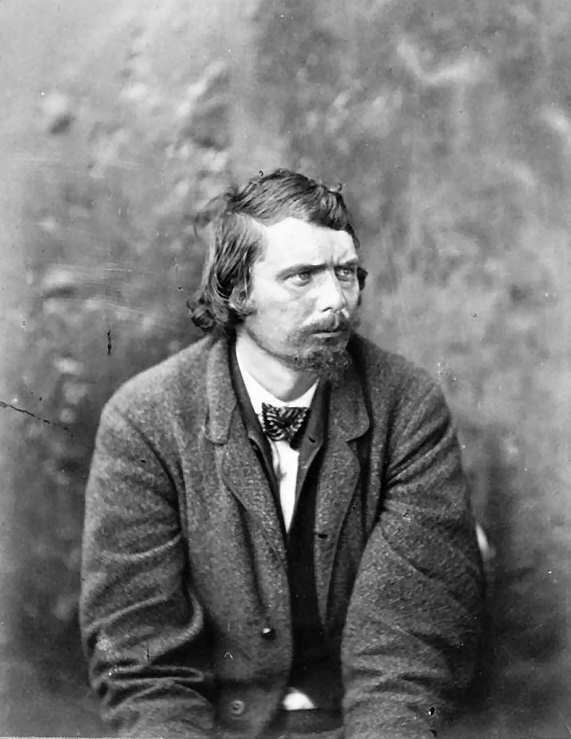
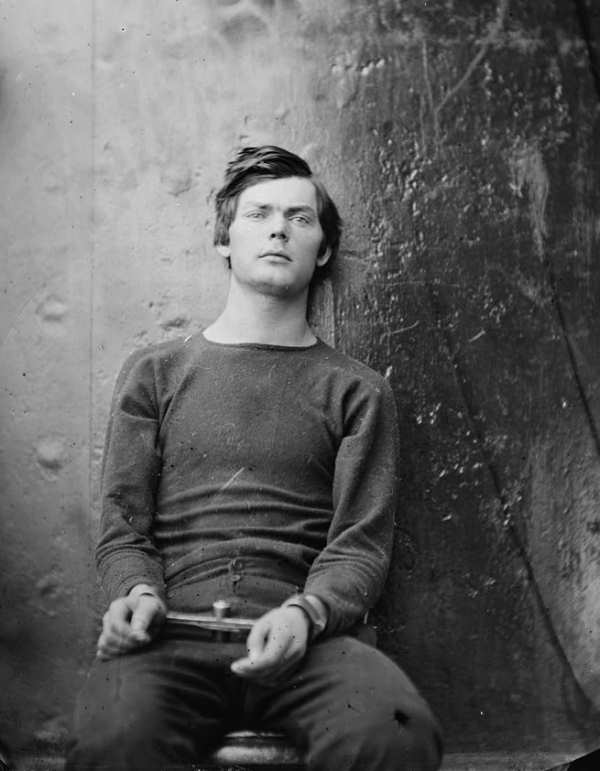
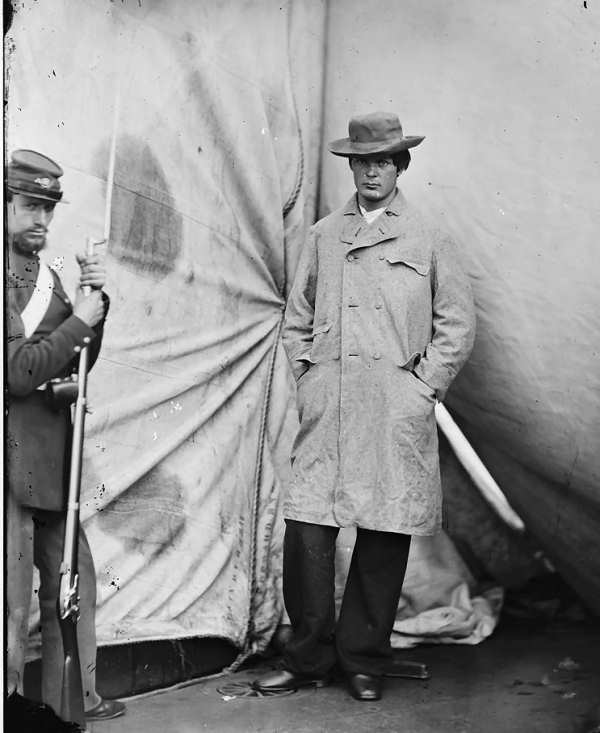
exception of one of David Herold, are of the conspirators in captivity. Of
these, the photographs with the dark metal were likely taken on one of the
monitors, U.S.S. Montauk and Saugus, where the conspirators were
for a time confined. The photos which appear to have an cloth or canvas
background were taken at the Washington Navy Yard, D.C..
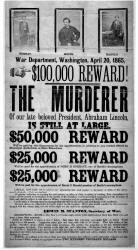
Selecting any of the images on this page, including the reward poster, will
display a larger version of the selected image.
John Wilkes Booth
John Surratt
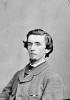

David E. Herold


George A. Atzerodt

Mrs. Mary E. Surratt
Lewis Payne / Powell

Michael O'Laughlin
Edward Spangler
Samuel Arnold


_________________________________
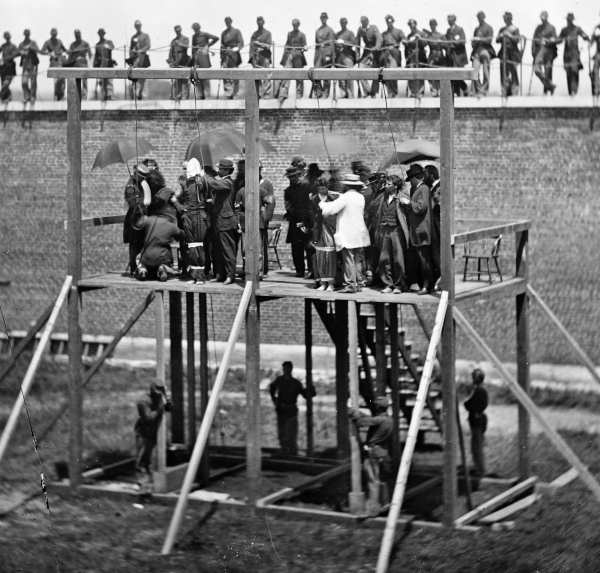
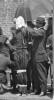
The four condemned conspirators (Mrs. Surratt,
Payne, Herold, Atzerodt), with officers and others on the scaffold; guards on
the wall: _________________________________
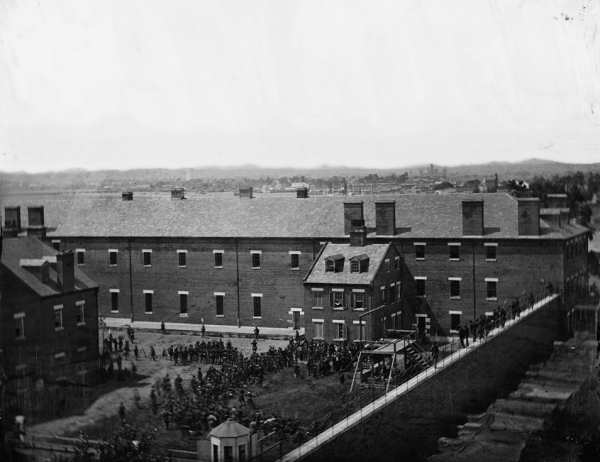
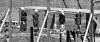
Scaffold ready for use
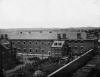
and crowd in the yard, seen from the roof of the Arsenal
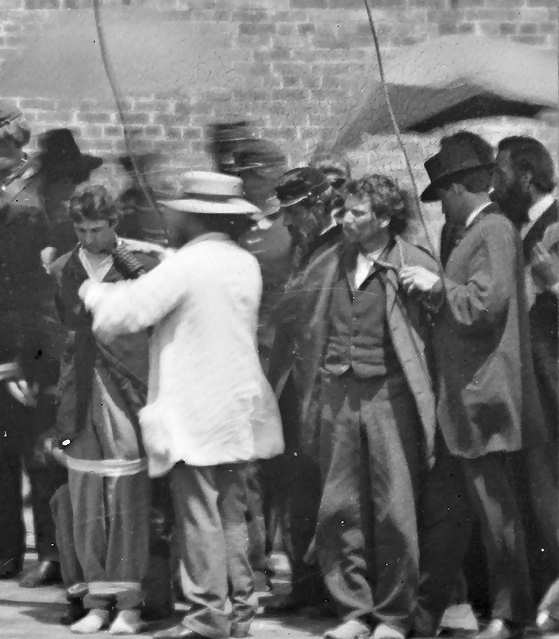
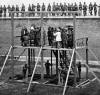
Adjusting the ropes

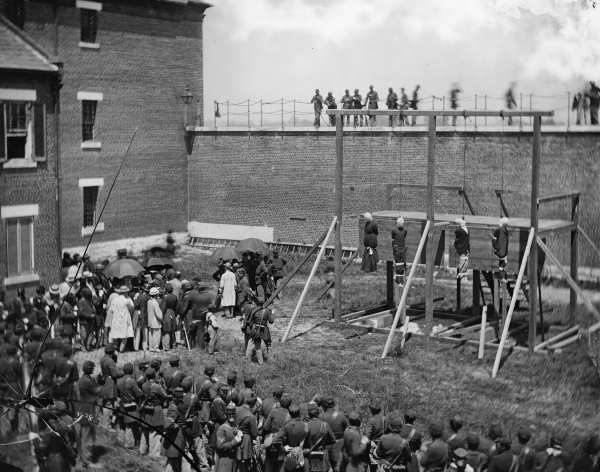
Hanging hooded bodies
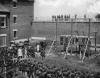
of the four conspirators; crowd departing

visits to this page.
Page last revised05/24/2006 |